How would you describe your company’s primary business?
We are a service and sales oriented business, with both offerings being complimentary to each other. Our expert service and education helps customers transition into being able to provide their own internal capabilities with hardware and software that we proudly support.
For many manufacturers, reverse engineering can relate to several different processes. In what ways does Exact Metrology specialize in reverse engineering?
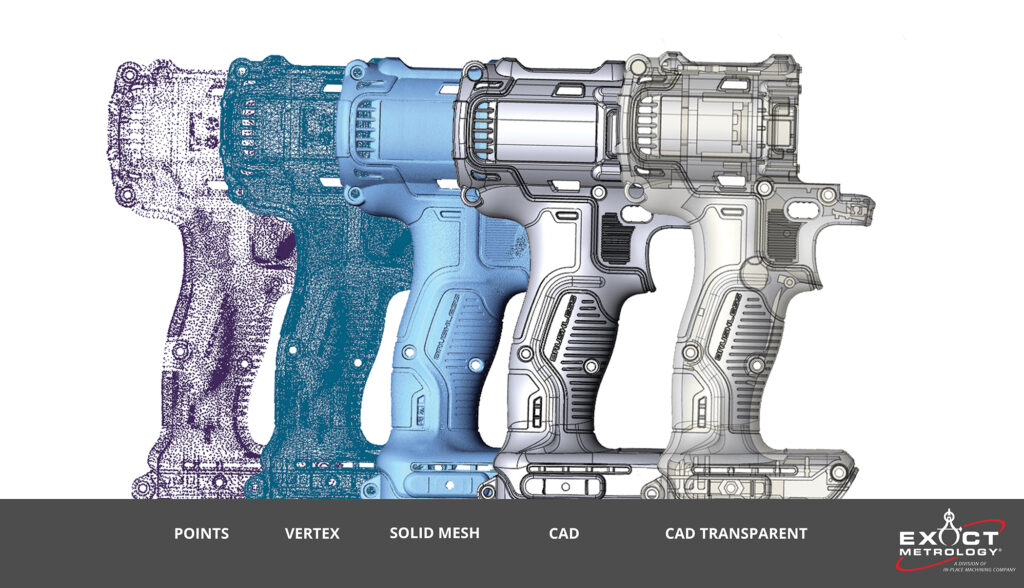
Our goal is to accurately digitally duplicate whatever a customer presents to us. We have a variety of data acquisition tools to capture items of all sizes and shapes. Secondarily, a considerable toolbox of software to process the data accurately.
What are some common reasons for reverse engineering?
 One common reason is salvaging legacy components that were never digitally captured. Imagine a 75-year-old car part that may be of only few in existence. Those were never pushed through a CAD package, or maybe even never captured through drawings. Another solution is adaptability. To mate something or accurately bolt on a component requires an accurate starting point. Capturing the existing condition of an amputee, allows for proper fitment of a prosthetic, this reduces injury or additional soreness. Starting with the right “actual” is paramount.
Are there any misconceptions about reverse engineering?
Yes. Accuracy requirements get blurred into the capabilities of the scanning hardware used. There is an inevitable stack-up of tolerances that occur. Manufacturing defects, like shrink and flash are typically worked out of the final deliverable but would initial fail the ‘rule’ established by the accuracy requirements of the final model. Simply, if there was a sink mark of .010” on a plastic part, that would never need to be replicated in the final design, but if a +/-.005” final deviation tolerance allowance is established, that correction would violate that baseline request.
What factors should be considered before someone begins the process of reverse engineering?
We have a basic rule here, and that is “What are you doing with it?” Although that may seem a bit intrusive, it answers a lot of questions. The simple answer to that question sets a path of hardware of hardware and software to be used. It also can dramatically change the timing of the project, which can be dramatically financially impactful to our customers. Our goal is to educate those customers on the front end.
In general, what are the different use cases for Structured Light, Portable CMM/Scanning Arms, Long Range Scanners, and CT (X-Ray) scanning machines?
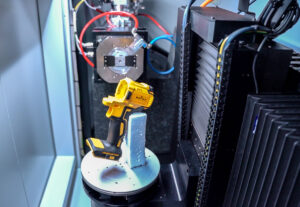
There are a lot of variables at play here. One driving factor may be pure accuracy requirements. There are also crossovers here, with Structured Light/Portable CMM/CT all being capable of scanning the same part, depending on its size. CT’s common use is internals, or complex small assemblies. Long Range expands the reach of the smaller portable CMM and Structured light. With, project dependent, can all be used in collaboration to create an end result data set. It is not uncommon that we utilize several of these technologies in tandem to get a complete, accurate digital copy.
 Is validation important, and in what ways can manufacturers validate the data taken from their scans?
Yes. Garbage in, garbage out. Most hardware suppliers have stop gaps or validation procedures in place to check their hardware to maintain that it is still within factory specifications. We routinely, using the hardware guidelines, validate our hardware pre and post job. This allows us to track accuracy shifts and mitigate any problems in process, not after completion.
Is it possible to identify areas of weakness or potential reliability issues that may not have been recognized previously?
Yes, education is critical. Understanding your hardware and it’s limits and capabilities are the recipe to successful workflows.

